
Introduction
One of the most frustrating things about HTML forms is that you have to do a lot of work before you can extract any useful information from them. But in this article, we show you how can you link an HTML form to Google Sheet.
But before might I recommend reading our other blog post about building an HTML Form and linking to PHPMailer for emails? Or you can learn to build a full API with PHP, JSON, and Postman.
Now, let’s jump straight to the coding part of the HTML form to Google Sheet:
Step 1: Simple UI Design
Like always we begin our journey with the front-end part. And for rapid UI building, we will use BootStrap 5.
However, let me ask a question why do we need an HTML form? Why they are so important that you will never see a website without them?
Well, the answer is: HTML forms are a simple yet great way for a website to gather feedback from its potential clients and customers. After all, a well-running website needs to engage readers and solve their problems.
That’s why we will first code a clean and beautiful UI design for our HTML form. And then we use Google Apps Script HTML form submit to receive data in a Google Spreadsheet.
This means we are essentially replacing our databases like MySQL or MongoDB with a simple Google Sheet. And we all know how easy it is to operate a Google Spreadsheet.
Also, don’t worry our code works beautifully with localhost like XAMPP or WAMP on a local PC. No need for a live server to test this.

Enter the below Code in your HTML file for making this UI form. I have named my file “index.html” since this is the only file we have.
<!doctype html>
<html lang="en">

<head>
  <meta charset="utf-8">
  <meta name="viewport" content="width=device-width, initial-scale=1">
  <title>HTML form submit to Google Sheet</title>
  <link href="https://cdn.jsdelivr.net/npm/[email protected]/dist/css/bootstrap.min.css" rel="stylesheet">
</head>

<body>
  <div class="container text-center">
    <br>
    <h1>HTML form submit to Google Sheet</h1>
    <br>
    <div class="card mx-auto" style="width: 18rem;">
      <div class="card-body">
        <form name="submit-to-google-sheet">
          <div class="mb-3">
            <input name="fullname" type="text" class="form-control" placeholder="Fullname" required>
          </div>

          <div class="mb-3">
            <input name="email" type="email" class="form-control" placeholder="Email" required>
          </div>

          <button type="submit" class="btn btn-primary">Send</button>
        </form>
      </div>
    </div>

  </div>

  <script src="https://cdn.jsdelivr.net/npm/[email protected]/dist/js/bootstrap.bundle.min.js"></script>
</body>

</html>
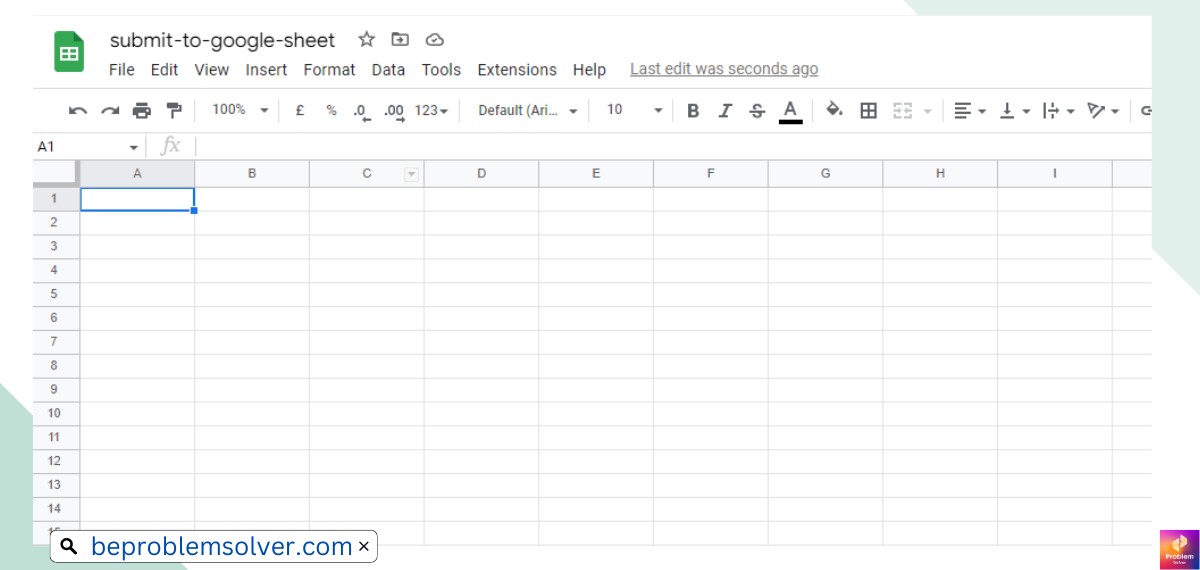
Now that we are done with our UI part. Let’s get started on the second step! We need to create a Google Spreadsheet.
Step 2: Generate URL with App Script
Before I forget, let me tell you something. This code enables us to submit custom HTML form data to Google Sheets is written by levinunnink on his GitHub Repo so feel free to show him some love too.
Moving on, now we must generate a Google Sheet App URL which will give us the ability to send data to Google Sheets when we submit our HTML form.
We will walk through the whole together don’t worry!
1. We give our Google Spreadsheet the name “submit-to-google-sheet“. You can give a different name. Just remember that we need this name later on.
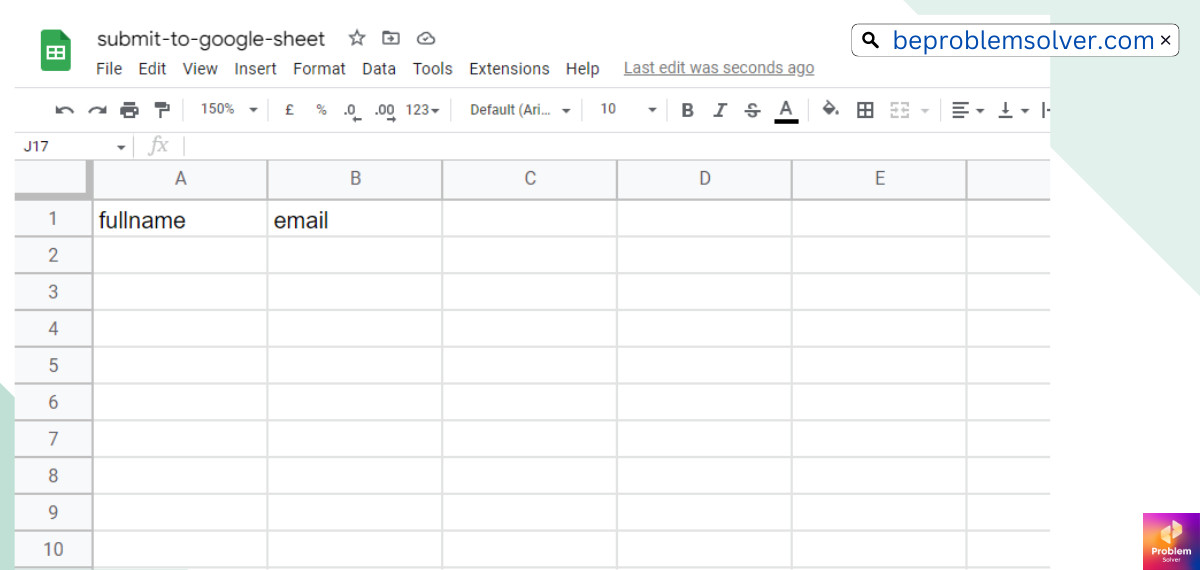
2. We give the same name to our Google Sheet columns that our name attribute has in HTML form. Remember our first input field has a name of “fullname” and the second one as “email“.
Note: You can add more fields in HTML form. But don’t forget to add them to your Google Sheets as well. And keep them in the correct order.
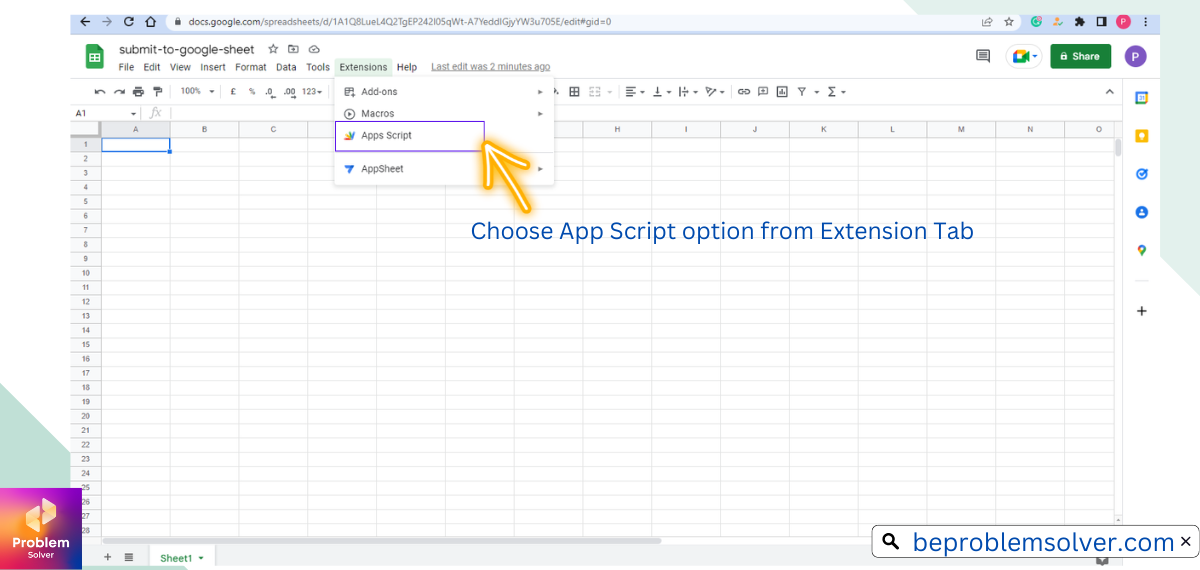
3. After correctly setting the field names in Google Sheets, navigate to Extension Tab. And choose the Apps Script function to click. This will redirect you to a separate page.
4. In this Apps Script page, you will see a sample code of the JavaScript function.
No tension! You don’t need to learn JavaScript here. Just follow along and we will send HTML form data to Google spreadsheet in no time.
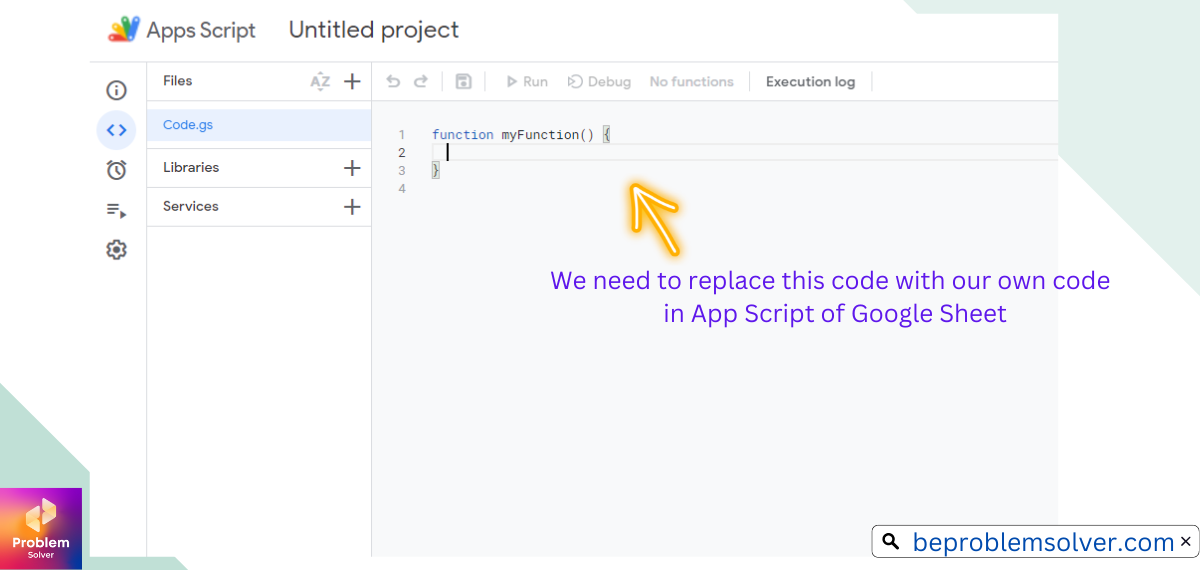
5. Now we just copy-paste our JavaScript code. Here is the code:
var sheetName = 'Sheet1'
var scriptProp = PropertiesService.getScriptProperties()

function intialSetup () {
  var activeSpreadsheet = SpreadsheetApp.getActiveSpreadsheet()
  scriptProp.setProperty('key', activeSpreadsheet.getId())
}

function doPost (e) {
  var lock = LockService.getScriptLock()
  lock.tryLock(10000)

  try {
    var doc = SpreadsheetApp.openById(scriptProp.getProperty('key'))
    var sheet = doc.getSheetByName(sheetName)

    var headers = sheet.getRange(1, 1, 1, sheet.getLastColumn()).getValues()[0]
    var nextRow = sheet.getLastRow() + 1

    var newRow = headers.map(function(header) {
      return header === 'timestamp' ? new Date() : e.parameter[header]
    })

    sheet.getRange(nextRow, 1, 1, newRow.length).setValues([newRow])

    return ContentService
      .createTextOutput(JSON.stringify({ 'result': 'success', 'row': nextRow }))
      .setMimeType(ContentService.MimeType.JSON)
  }

  catch (e) {
    return ContentService
      .createTextOutput(JSON.stringify({ 'result': 'error', 'error': e }))
      .setMimeType(ContentService.MimeType.JSON)
  }

  finally {
    lock.releaseLock()
  }
}
After copy-paste your view will look like this:
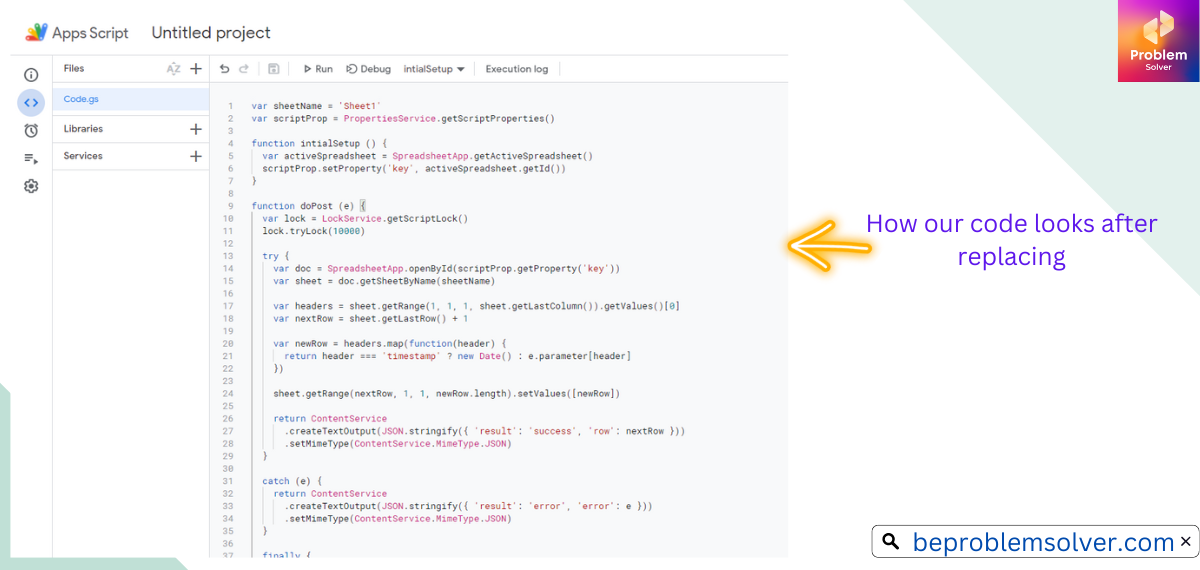
Note: We are almost halfway through the coding part of send HTML form data to google spreadsheet.
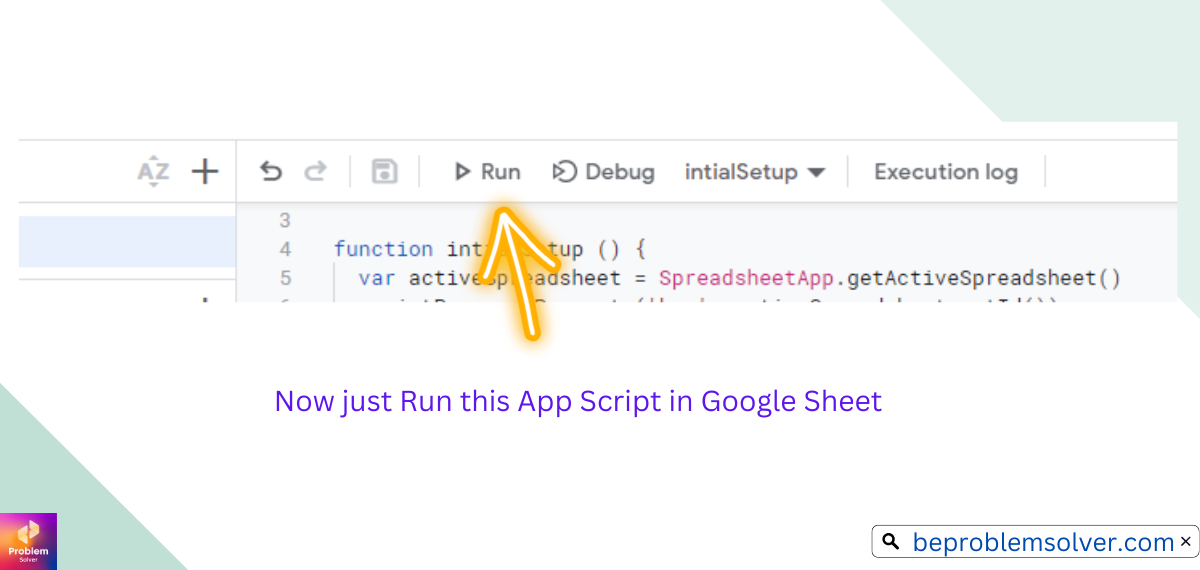
6. Next, we just run our Apps Script.
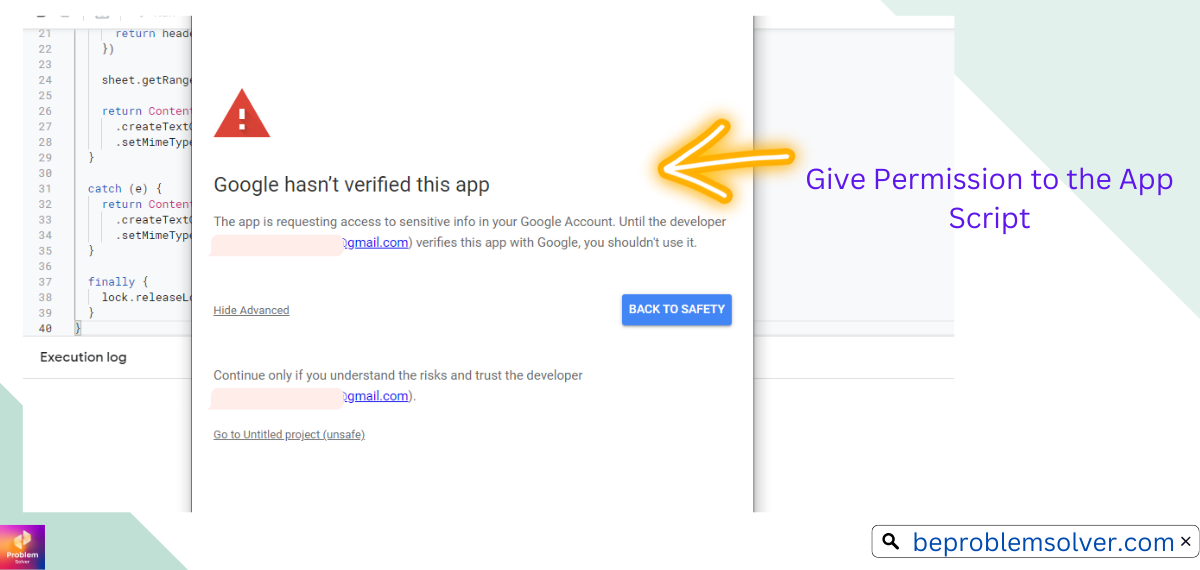
7. When you run the script, you will be prompted by Google to Grant permission to the script.
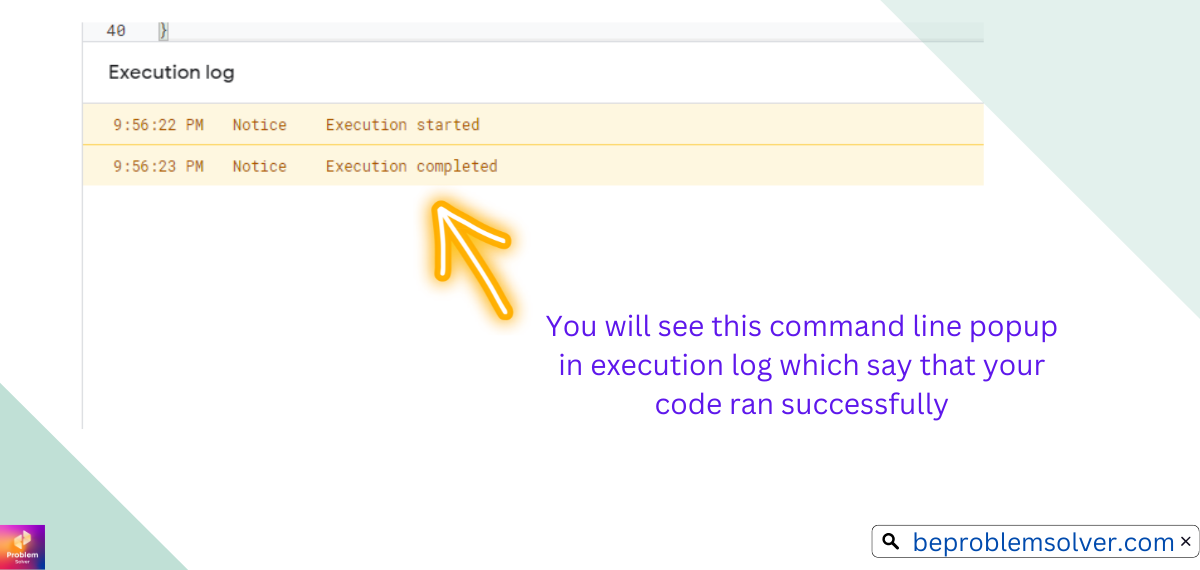
8. Once giving permission you will see the successful execution of Apps Script. Like in the below image shown.
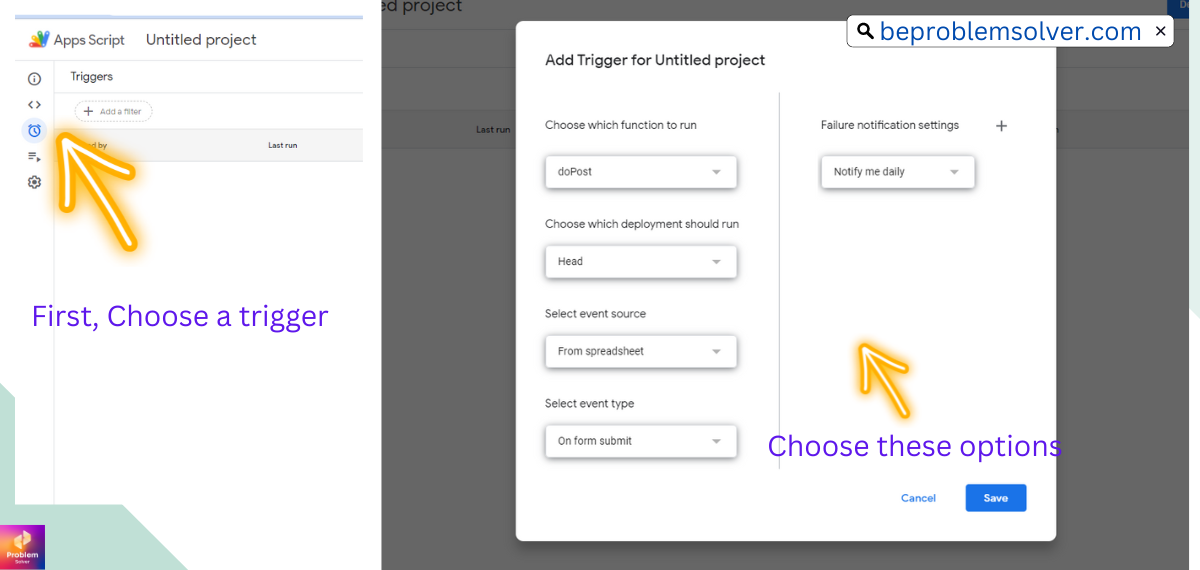
9. Next step in our Google Apps script HTML form submit is to add a trigger and choose the correct option for this trigger. Which are mentioned below:
- Choose which function to run: Select “doPost“. Since we are submitting our HTML form via the POST HTTP method.
- Choose which deployment should run: Select “Head“.
- Select event source: Select “From spreadsheet“.
- Select event type: Select “On form submit“.
- Failure notification settings: Select which one you prefer. We recommend the “Notify me Daily” option.
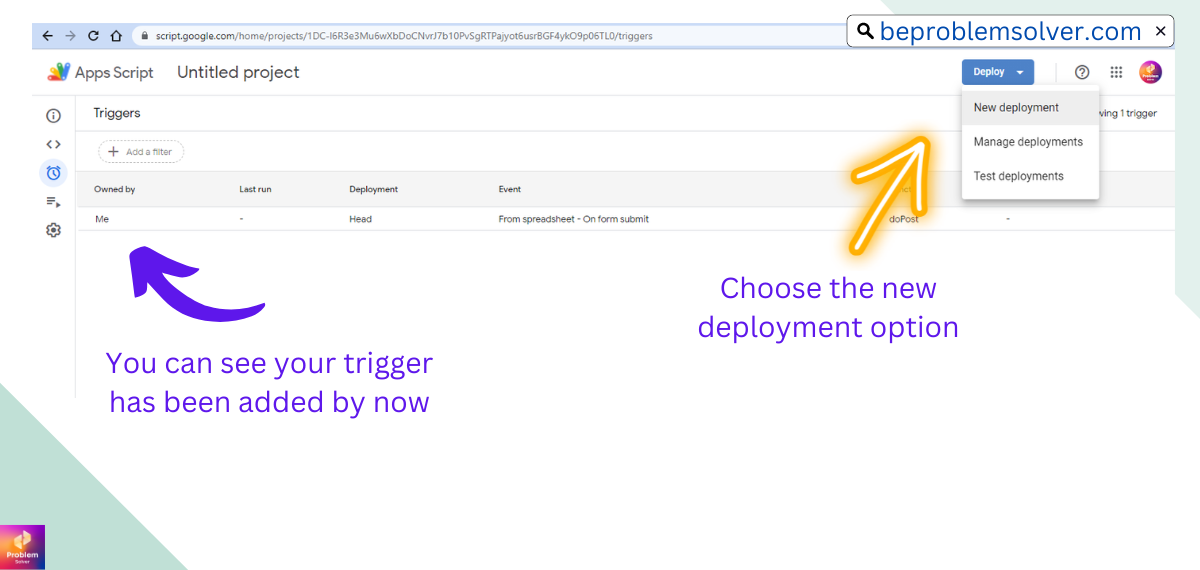
10. We are almost to the end. Now that we have added a trigger to Apps Script. We go to the Deploy button and choose the new deployment option here.
11. When publishing the Apps Script we need to give access to everyone. So in the “who has access” option choose “Anyone“. Then again you might get prompted to give access. Then finally you will see your deployment URL.
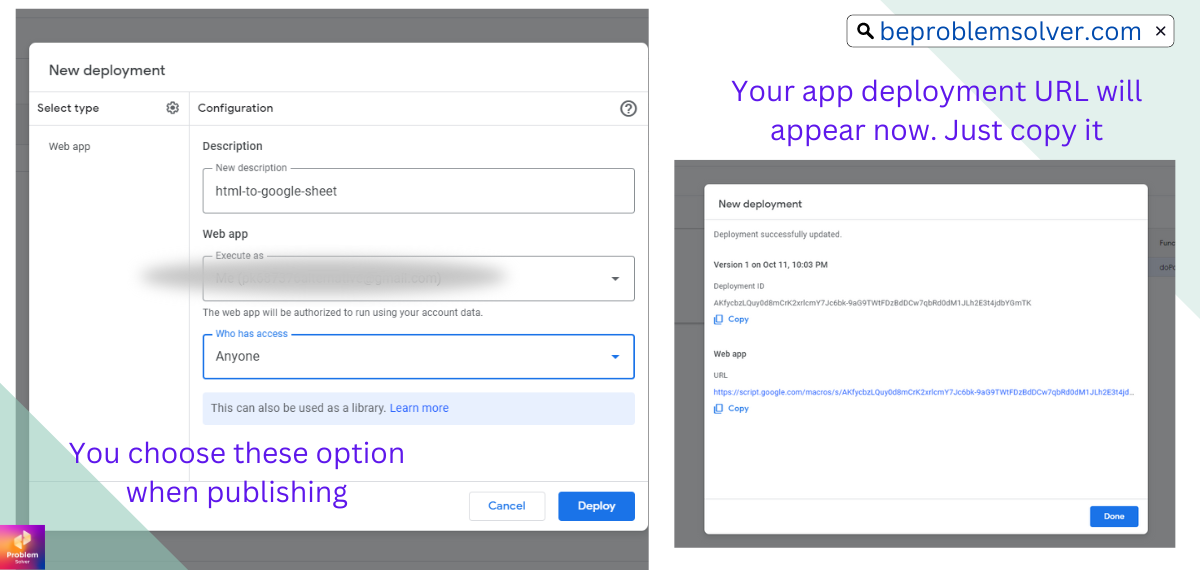
12. Copy our Apps Script deployment URL. We will need for next section of the HTML form to Google sheet.
Submit Custom HTML form data to Google Sheets
Now we have almost all the components ready.
We copy and paste the below code into our “index.html“. And place our Apps Script deployment URL in this code. And we are done.
<script>
const scriptURL = 'Your URL will be here'
const form = document.forms['submit-to-google-sheet']
form.addEventListener('submit', e => {
e.preventDefault()
fetch(scriptURL, { method: 'POST', body: new FormData(form) })
.then(response => console.log('Success!', response))
.catch(error => console.error('Error!', error.message))
})
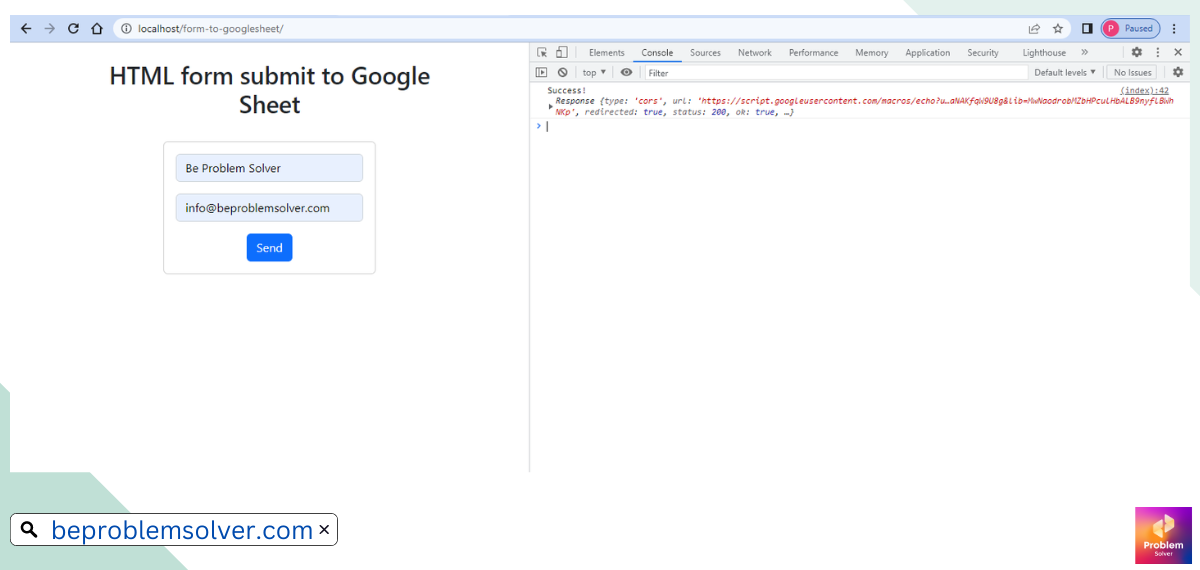
</script>Congratulations! Without any paid script or tool we have linked our Google Sheet with an HTML form. After the successful submission of the HTML form. You will see the message in the console log and you can check to see that you are receiving data in Google Spreadsheet.
Feel free to download the whole code of this project at our GitHub Repo. And check out the blog post for submitting a form without any refresh.
Conclusion
We hope in this blog post we have shown you how to send HTML form data to Google spreadsheet. All the steps are super-easy. And unlike databases like MySQL or MongoDB where we need to use PHP to see data, Google sheet is way easy to use.
Do check out our project where we built a form and linked it with the MySQL database. And also how to build a simple PHP form.
If you have any other questions or concerns about this code script, please contact us anytime. Thank you for reading, we are always excited when one of our posts is able to provide useful information on a topic like this!
Ta-Da! Keep Coding!